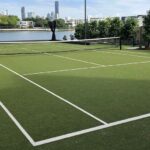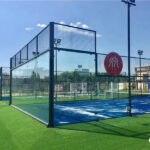
Artificial grass is suitable for areas such as front yards, backyards, gardens, courtyards, balconies, and roofs. After the artificial grass is installed in the garden, there is no need to water, mow and feed it. It looks better than natural grass and is just as comfortable. If you really want to install artificial grass in your garden but with a tight budget? How do you do it? Pay your sweat: you install the artificial grass yourself.
The content below will help you save a ton of money and soon you can enjoy the benefits of affordable artificial turf.
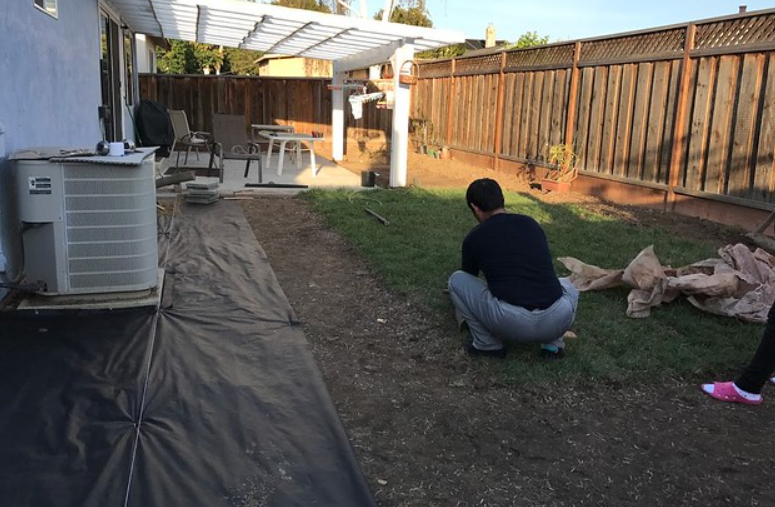
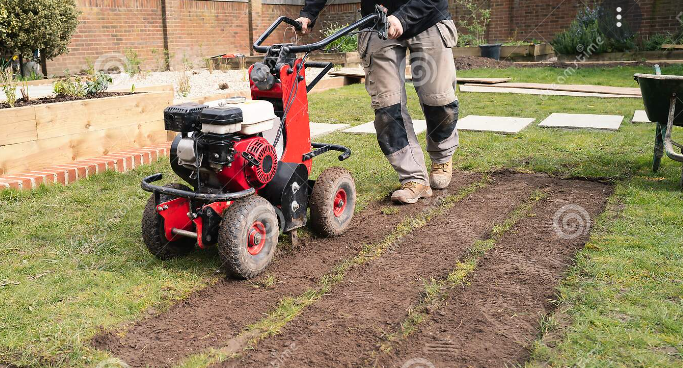
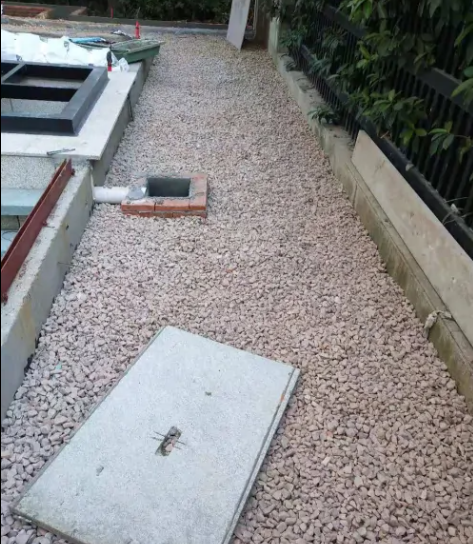
Step 1: Groundwork preparation
Make sure there are no wires, power, or sprinkler systems here. Remove debris from the ground. If the ground is hardened, this step can be omitted.
If the ground is lawn, dig about 3-4 inches (7.6 – 10.1 cm) before you start laying the artificial grass.
Compact the ground after removing the lawn. Rollers are an option, but for optimal results, it is advisable to hire a tamping machine from a construction company to ensure a level foundation and a smooth finish.
Use materials like brick, wood, metal, and more to create artificial grass boundaries.
Step 2: Install weeding cloth to prevent the lawn from appearing in artificial grass
Install the weeding cloth, install a weeding cloth on the ground you have prepared. A weed cloth can drain but does not allow shoots or roots to pass through it.
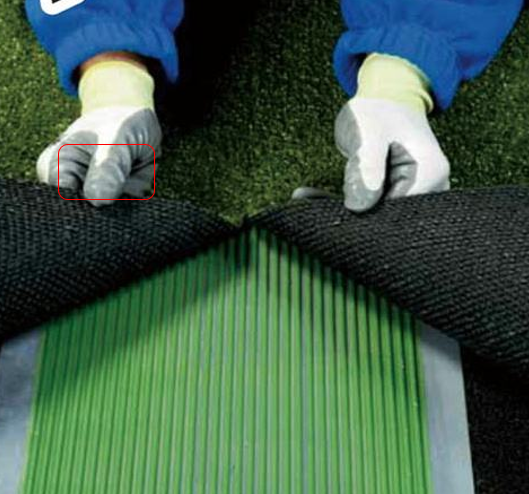
Step 3: Measure the lawn area and cut the artificial turf
Before measuring and cutting the synthetic artificial turf, spread it out and put it in the sun for about 2 hours. This will heat the backing and make your work easier.
Position your fake grass so that the grains are facing the same direction. Align the connectors with no gaps. There should be no visible lines and the artificial grass yarns should all point in the same direction.
Cut to fit the general shape of the perimeter, but add a few inches of extra material in case you go wrong.
Use a cutter to trim off any excess edge weave around the grass roll, then place U-nails approximately every 6 inches (15.2 cm) on each side to secure the edges.
But if you want a long-lasting artificial grass garden, you’ll need seam tape and glue.
Peel the sod again and open it with a few nails to secure it.
Put the seam tape in the gap, pour the glue in the middle, and spread it lightly along the surface of the tape.
When the glue is solidified, press or step back and forth on the seam to make the seam glued and the water fully bond with the seam.
Cut around, along the edge of the installation, and carefully cut the material to the exact perimeter line.
Make small cuts and check regularly to make sure your artificial grass is where you want it and that your cuts are even.
Use 5″ (12.7cm) non-galvanized nails spaced 2 to 4″ (5-10cm) apart to hold the turf securely in place.

Step 3: Measure the lawn area and cut the artificial turf
Spread the quartz sand evenly on the site, and then use tools to comb, clean and clean to complete the entire laying process.The filler protects the lawn’s backing from UV rays.
Green silica sand is popular as a filler. Only about 1 lb (0.45 kg) of #16 silica sand is required per square foot.
If you have pets, you may want to fill the artificial grass with zeolite, which can hold ammonia and reduce the smell of pet urine.
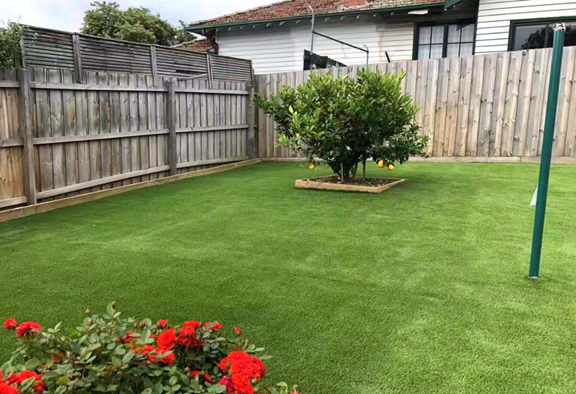
Summarize
Installing artificial turf isn’t easy, and it’s not cheap either. But if you’re willing to learn, you can save a lot of money by doing it yourself.
If you are ready for manual labor and you can do it properly. If not, it may cost more to hire a professional contractor now but will save you a lot of money and hassle later.
Bonus tip: Improperly installed artificial grass can cause drainage problems, and aesthetic issues, and ultimately may require expensive replacement and reinstallation.
🔗 Related Articles
- How to Install Artificial Grass for Sports Fields
- Infill vs. Non-Infill Turf: Which is Better?
- Essential Tools for Artificial Grass Installation
- Choosing the Right Synthetic Turf for Different Sports Fields
- How Much Does Artificial Grass Really Cost? Full 2025 Guide
If you’re currently looking to purchase artificial grass, click the link below to request a quote and get free samples.


